Getting started with FMOD in Unity
Working in FMOD is quite a time saver with it’s capabilities in playing sounds at a given moment, adding effects based on the event that was sent from a game engine and easily shifting from placeholders to the final product. Middleware’s like FMOD are used by a lot of audio designers because it is a powerful tool in ones arsenal. And although scripting, coding and programming can sound daunting, with the little help of it and audio designer can do wonders in game development. You don’t have to learn all the aspects of a language, just the basic idea to get around. Luckily this is not a post on programming, but getting the project ready to work with.
Downloading tools
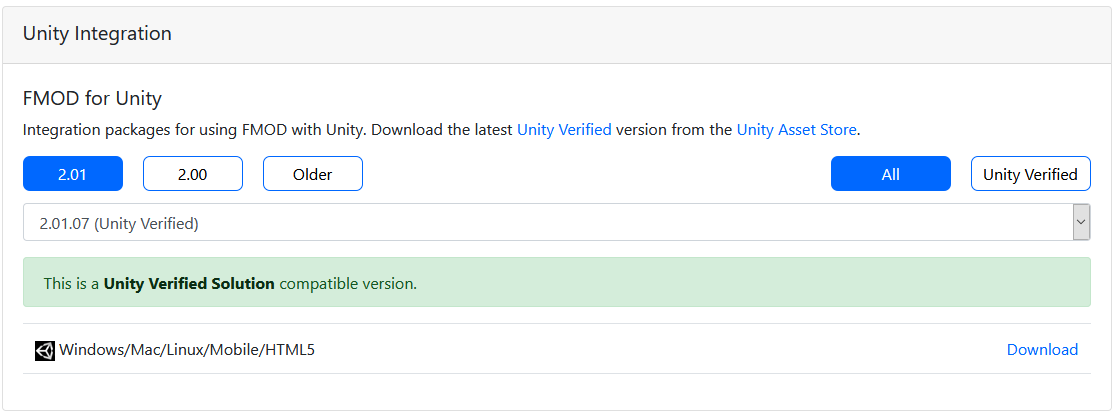
First of all we will be needing to download FMOD Studio Suite and Unity Integration. We will be using 2.01.05 version as it is Unity verified. Take note that the Unity Integration packet and FMOD Studio Suite must be on the same version.
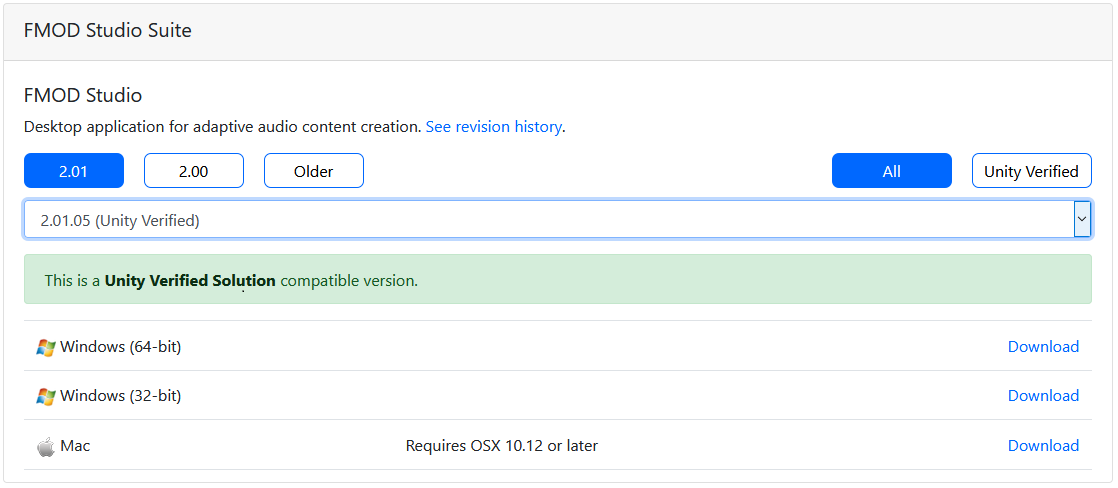
Both of the versions used here is 2.01.05
Integrating
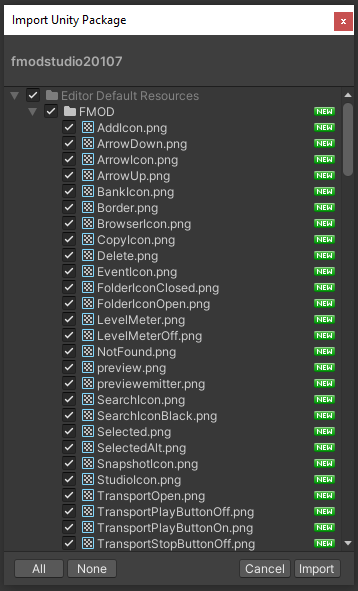
Open the Unity project in which you want integrate FMOD. Then open the FMOD Unity Integration Package that you’ve just downloaded. A “Import Unity Package” should pop up.
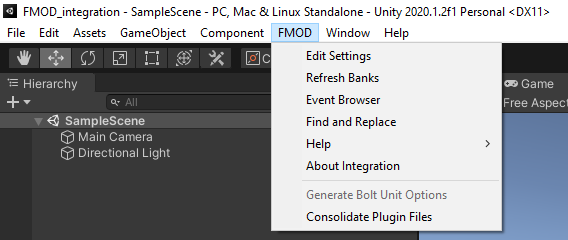
After clicking import Unity will do it’s job and after it is done you will find an FMOD tab has appeared.
Now you should install FMOD Studio Suite that you have downloaded. After installing, open it up and in the “File” tab click on “Save as…”. Go to the Unity project directory and save it in the name you want. I’m going with fmod_test_integration.fspro. It will create a folder with this name. For my own preference I rename the folder to FMODAssets that way all the people working with this project will exactly know what it is.
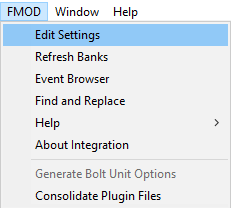
Now after that is done. We will need to link this project inside Unity. Hop back to Unity and open the “FMOD” tab and select “Edit Settings”.
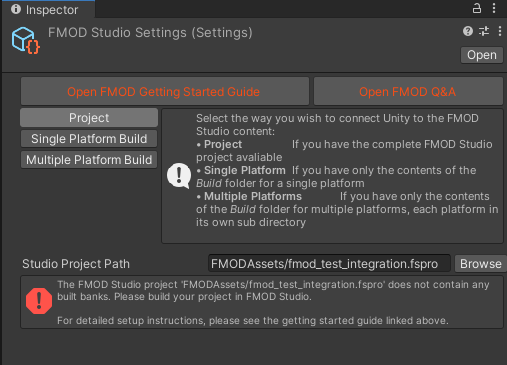
In the inspector you have to link where your project file is.
Let’s test it
And you should be now all set! So let’s test if everything is working as it should. In FMOD Studio let’s make an event. Simply press Control + N and give the event a name. There will be a #unasigned next to the event you’ve created. This means that currently it hasn’t yet been assigned to a bank. For now we can assign it to the Master bank. Right-Click on the event → Assign to Bank → Browse → and double-click on Master.
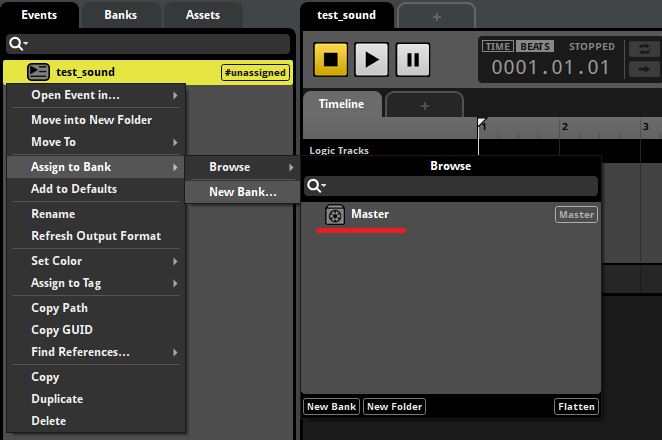
Let’s also add some music to the timeline to know if it is working properly just drag’n’drop it in. After all that is done, save it and hit F7. This will build the Master bank.
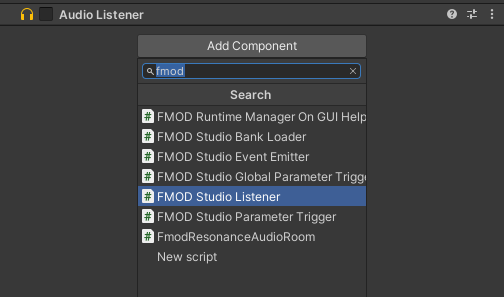
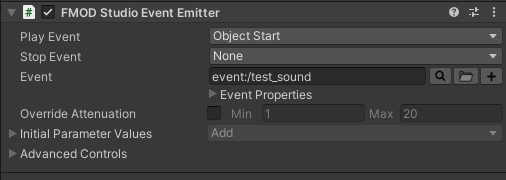
Back at Unity in the main camera we should add two components. The “FMOD Studio Listener” (when this is added, the default Audio Listener should be turned off) and the “FMOD Studio Event Emitter”.
In the FMOD Studio Event Emitter component select the test event that was created in FMOD and set the Play Event to “Object Start.”
Now hit play and you have your sound playing!